
Troubleshooting hydraulic manifolds is both easy and difficult at the same time. On the one hand, your problem is unlikely to be leaking fittings, damaged pilot lines, or tubes connecting valves. All the “circuit” plumbing consists of internal cross-drilling inherent to the aluminum or steel block, eliminating (typically) all plumbing except the primary pressure, tank, and work lines.
However, the difficulty lies within that same framework, because there are no obvious leak points or flow paths that can be seen or detected from outside the manifold. Leaks certainly occur, but unless the fluid is detected escaping the port, it’s all internal and very difficult to diagnose where the leak occurs.
Troubleshooting starts with the schematic, and the bill of materials must be with it to identify all the valves. Although there are standard cartridge valve cavities, such as SAE Common Cavity and Sun Hydraulics, the execution of any given valve will change by manufacturer. Orifice locations, adjustment type, seal style and material, as well as electrical differences, can all play a part in how you diagnose an issue.
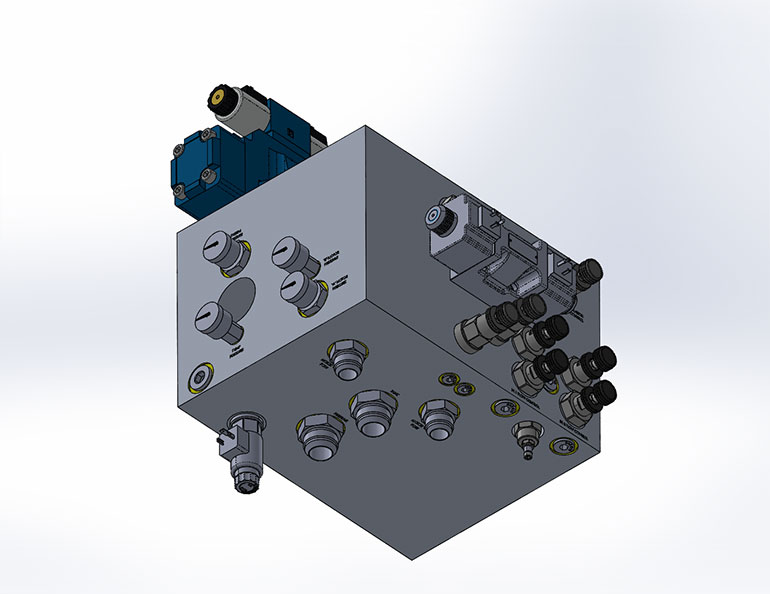
Image courtesy of Higginson Equipment
Let’s use the example of a drifting hydraulic cylinder that has confirmed seals in fresh condition, and let’s use the weird example of a drift in extension. Although it may be counterintuitive, if you pressurize both the rod and cap side of a cylinder simultaneously, it will drift towards the rod end. Because the differential area is greater on the piston side, the net force is always in extension, despite the backward force from the annular side of the piston.
Because we know our piston seals are good, fluid must be leaking into both work ports simultaneously, and since pressure will generally equalize when left in a static position, this causes our drift issue. You must review your schematic and identify every valve installed in the manifold that shares a flow path between the A & B work ports. This will include the obvious, such as the directional valve, but PO check, counterbalance, cross-port relief, and regeneration valves all share these two primary work lines.
The easiest method to check is to remove the DCV and all valves in this subcircuit to inspect the seals (after you lock out the machine and ensure a safe state, of course). The seals on cartridge valves are located on the valve circumference between each port, sealing each port from the others, and are typically just O-rings with backup washers. You should be able to see the condition of the seals readily, but even if they look okay, it’s not an expensive endeavor to change them anyway. Just ensure you don’t pinch them in the cavity during installation. It also won’t hurt to inspect the spool or poppet inside the valve, as you’d be surprised how easily a piece of metal or rubber can get stuck and prevent a valve from shifting or closing.
Once all the valve seals are replaced, you’ve eliminated the leakage path around the cartridge valve. However, that doesn’t mean the spool or poppet inside the cage isn’t worn and leaking, or perhaps even hung up by contamination. Internally, the spool or poppet seals through metal-to-metal precision, so contamination-related wear could be causing the internal leakage. If that’s the case, you need to replace the valve. Cartridge valves are cheap, but let’s hope you don’t have to wait twelve weeks for a replacement.
Troubleshooting hydraulic manifolds comes down to understanding what’s happening inside, and you can generally remedy the symptoms by replacing all the seals. You know the manifold worked when new, so it’ll work again with a fresh set of synthetic rubber. If it’s not the rubber, it’s the valve, but instead of arbitrarily changing components, be strategic with where you search.
One last tip for solenoid valves — powering a coil creates a magnetic field, so confirm your valves are seeing power by putting a steel (not stainless) wrench or screwdriver up to the coil under power. If it’s magnetized, you know the electrical side is fine. If it’s still not shifting while magnetized, pull the valve out and reapply power to visually confirm the spool moves when energized. If there is no movement as you cycle power, the issue could be internal, such as a stretched core tube, which requires your replacement of the valve.
Filed Under: Components, Engineering Basics, Troubleshooting, Valves & Manifolds
